1 min 0 Audio/Video Electronics High-End Audio Restoration Infinity RSM October 18, 2025 Found a pair of Infinity RSM’s from 1978 on ebay. They were minty and fairly… Read More
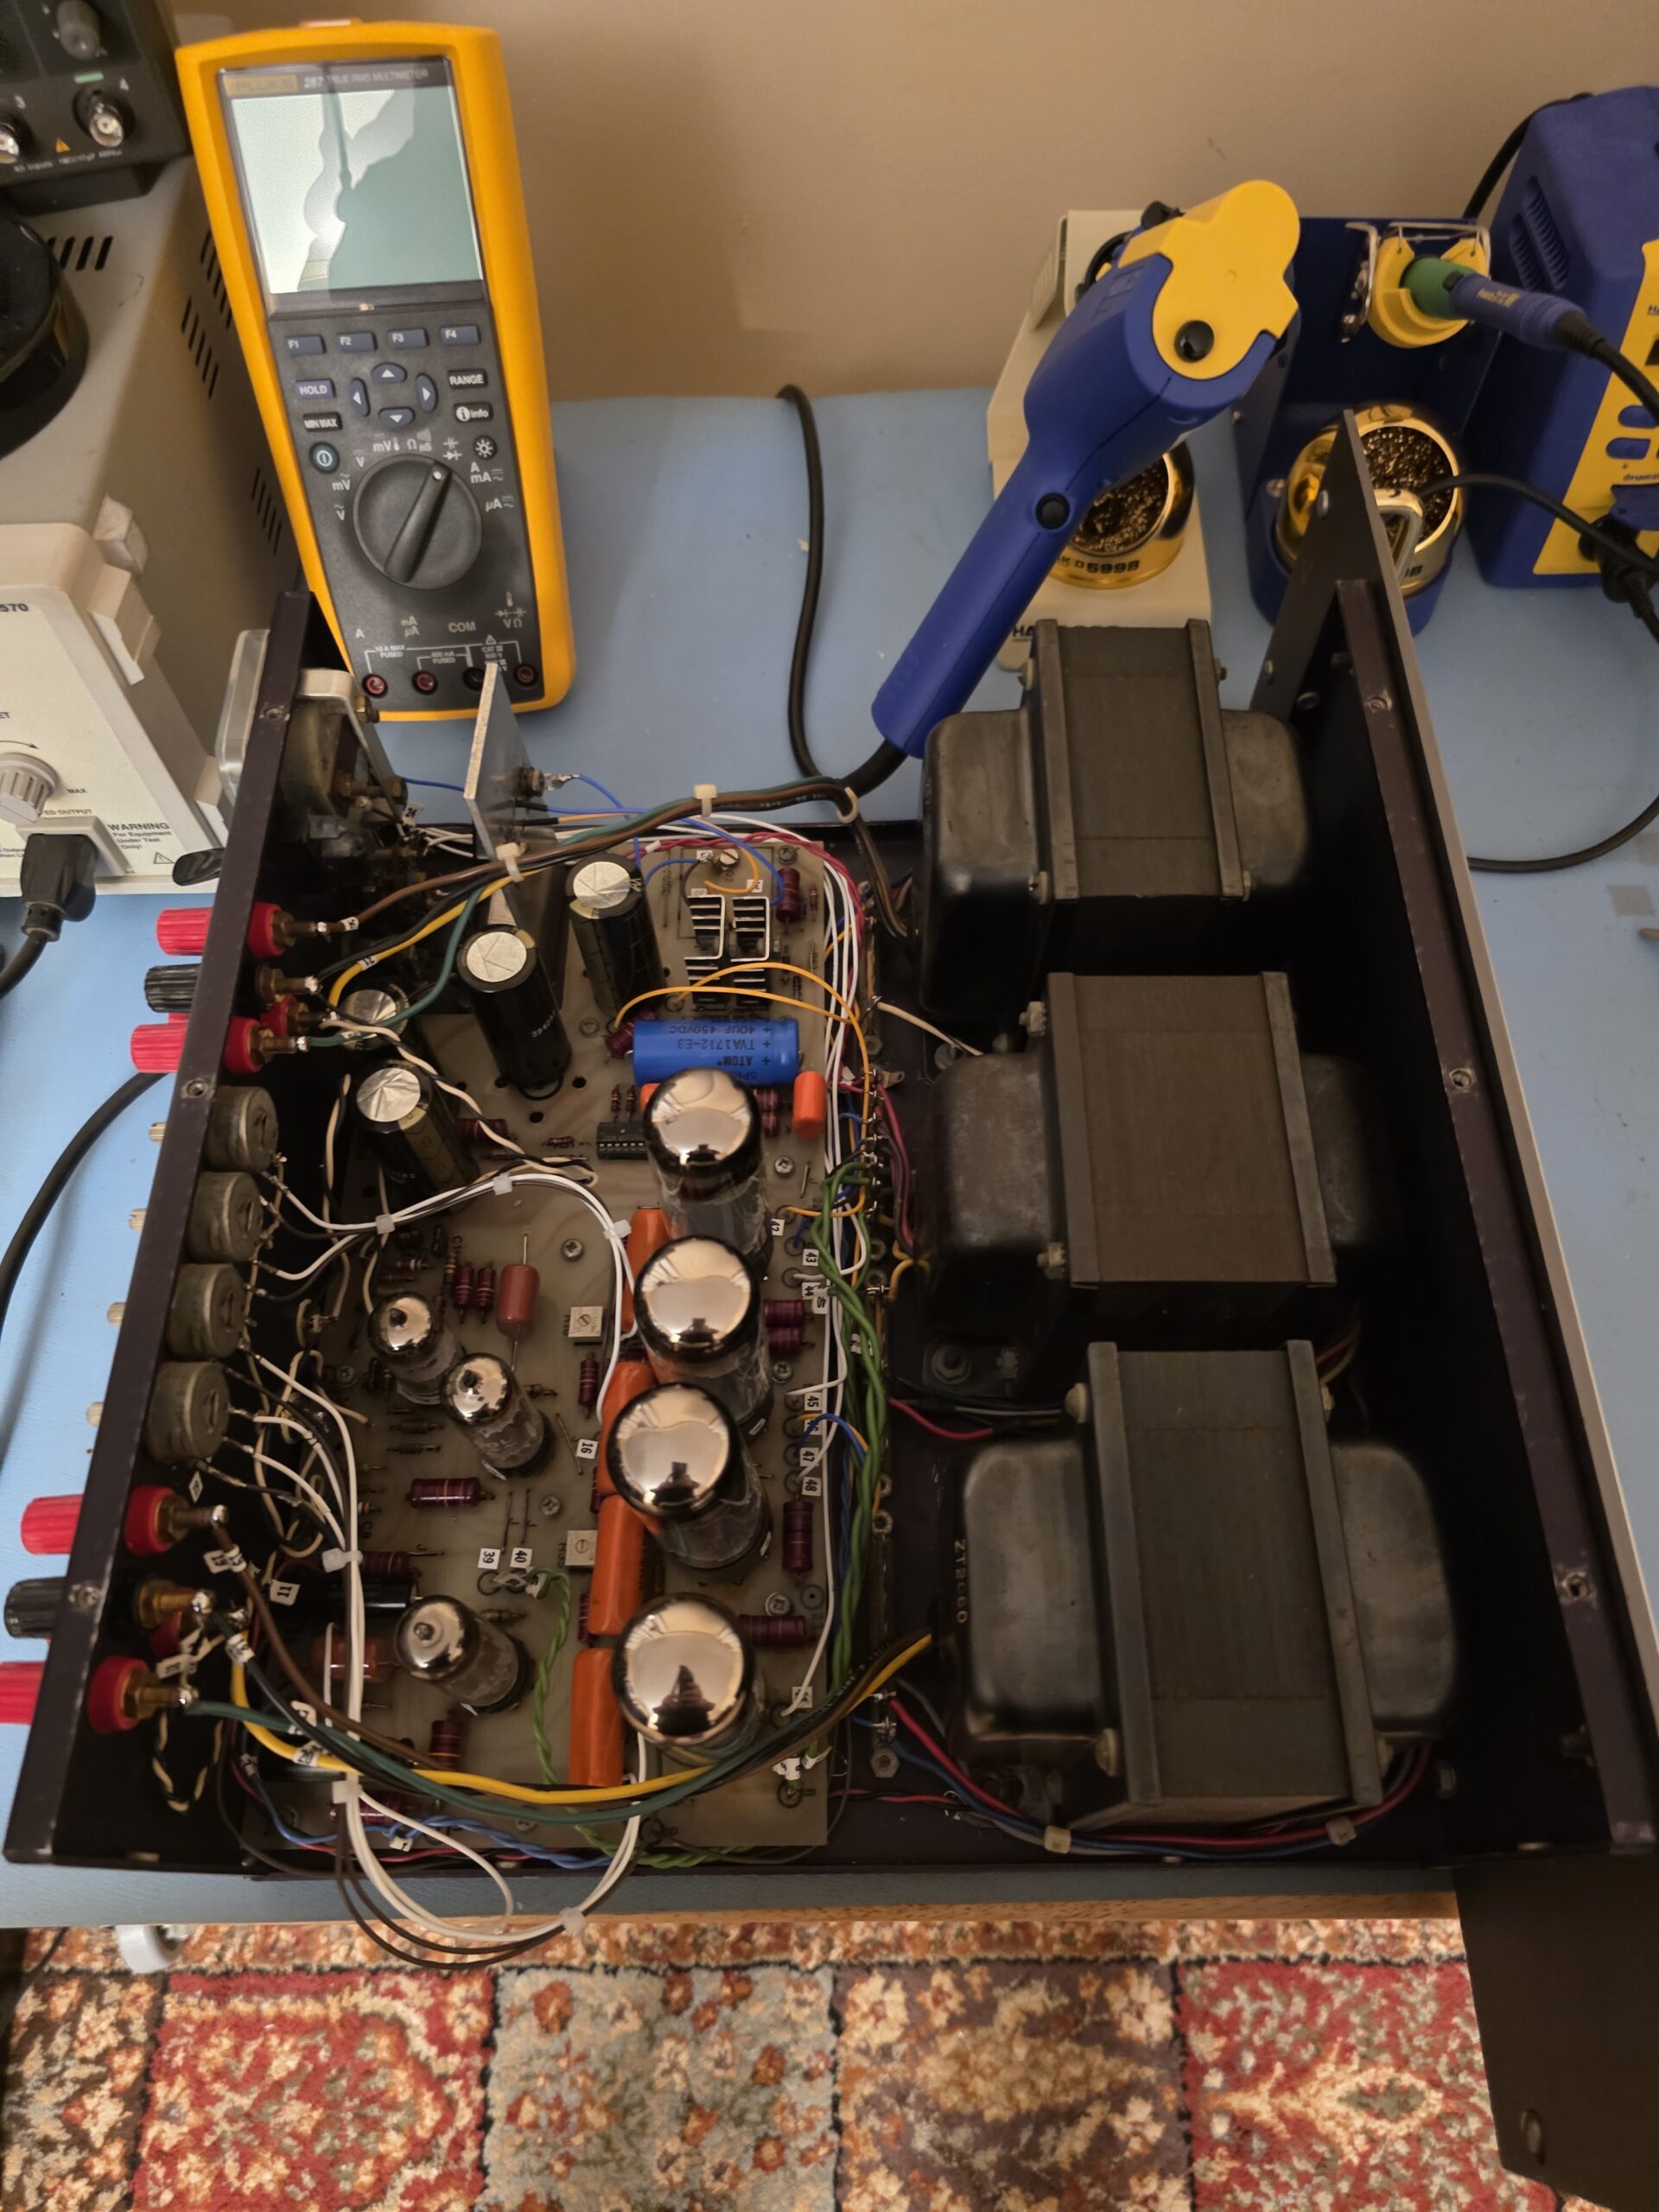
2 min 0 Audio/Video Electronics High-End Audio Restoration Audible Illusions Project Update September 13, 2025 I was able to get my Audible Illusions amplifier project back together yesterday. It was… Read More
2 min 0 Audio/Video Electronics High-End Audio Bucking Transformer July 22, 2025 I built a bucking transformer for use with older tube amplifiers. Did you know that… Read More
1 min 0 Audio/Video Dirac Live on MiniDSP July 20, 2025 I know this is sacrilegious in audio circles but I decided to put a MiniDSP… Read More
3 min 0 Audio/Video High-End Audio Music Record cleaning July 20, 2025 I have been trying to come up with the perfect process to clean records. I… Read More
1 min 0 High-End Audio Latest project completed May 25, 2025 Finally finished a project I have been dragging my feet on for awhile. The surround… Read More
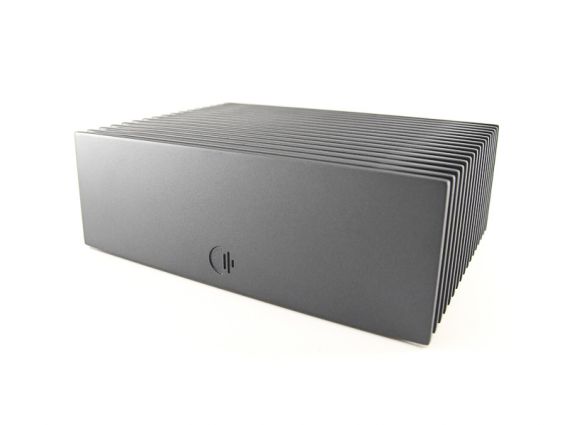
1 min 0 Audio/Video Electronics High-End Audio Roon Nucleus Plus Music Server November 3, 2018 Does anyone out there have any experience with the Roon Nucleus Plus music server? It… Read More