1 min 0 Audio/Video Electronics High-End Audio Restoration Infinity RSM October 18, 2025 Found a pair of Infinity RSM’s from 1978 on ebay. They were minty and fairly… Read More
2 min 0 Computers High-End Audio Music Reviews ZeroTier rocks! September 16, 2025 I’m giddy at the moment. I decided to give ZeroTier a try tonight. In less… Read More
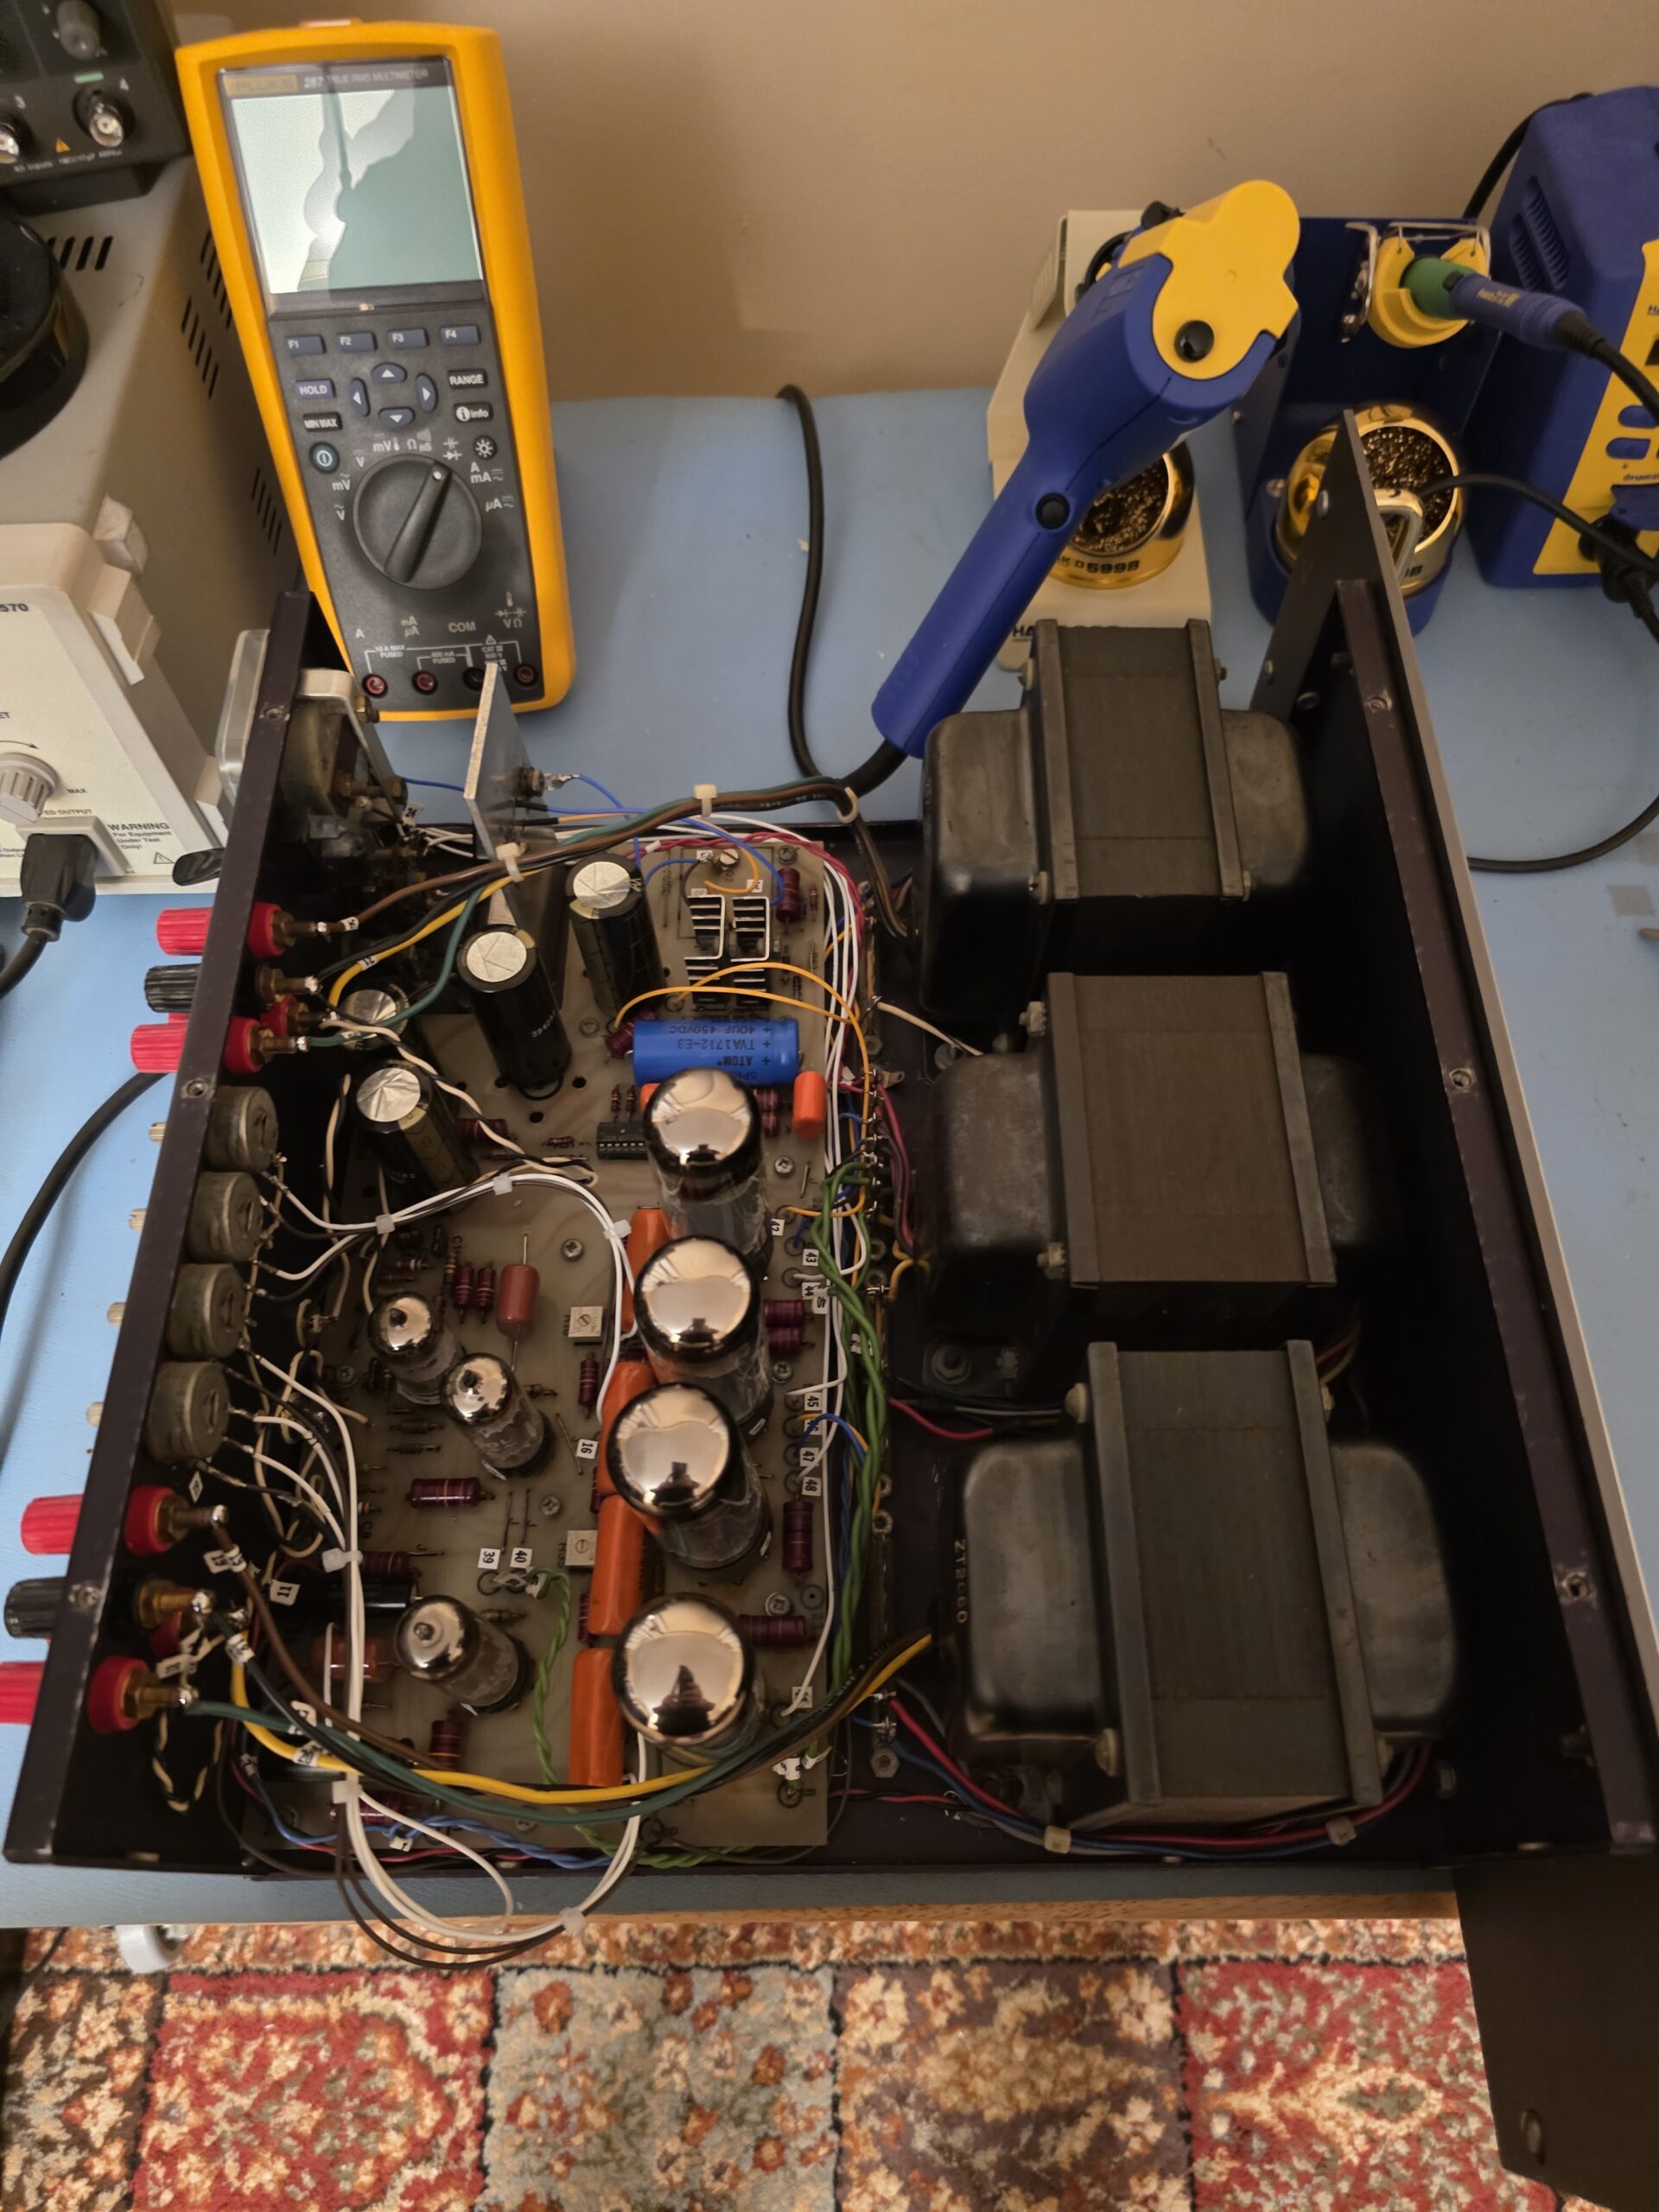
2 min 0 Audio/Video Electronics High-End Audio Restoration Audible Illusions Project Update September 13, 2025 I was able to get my Audible Illusions amplifier project back together yesterday. It was… Read More
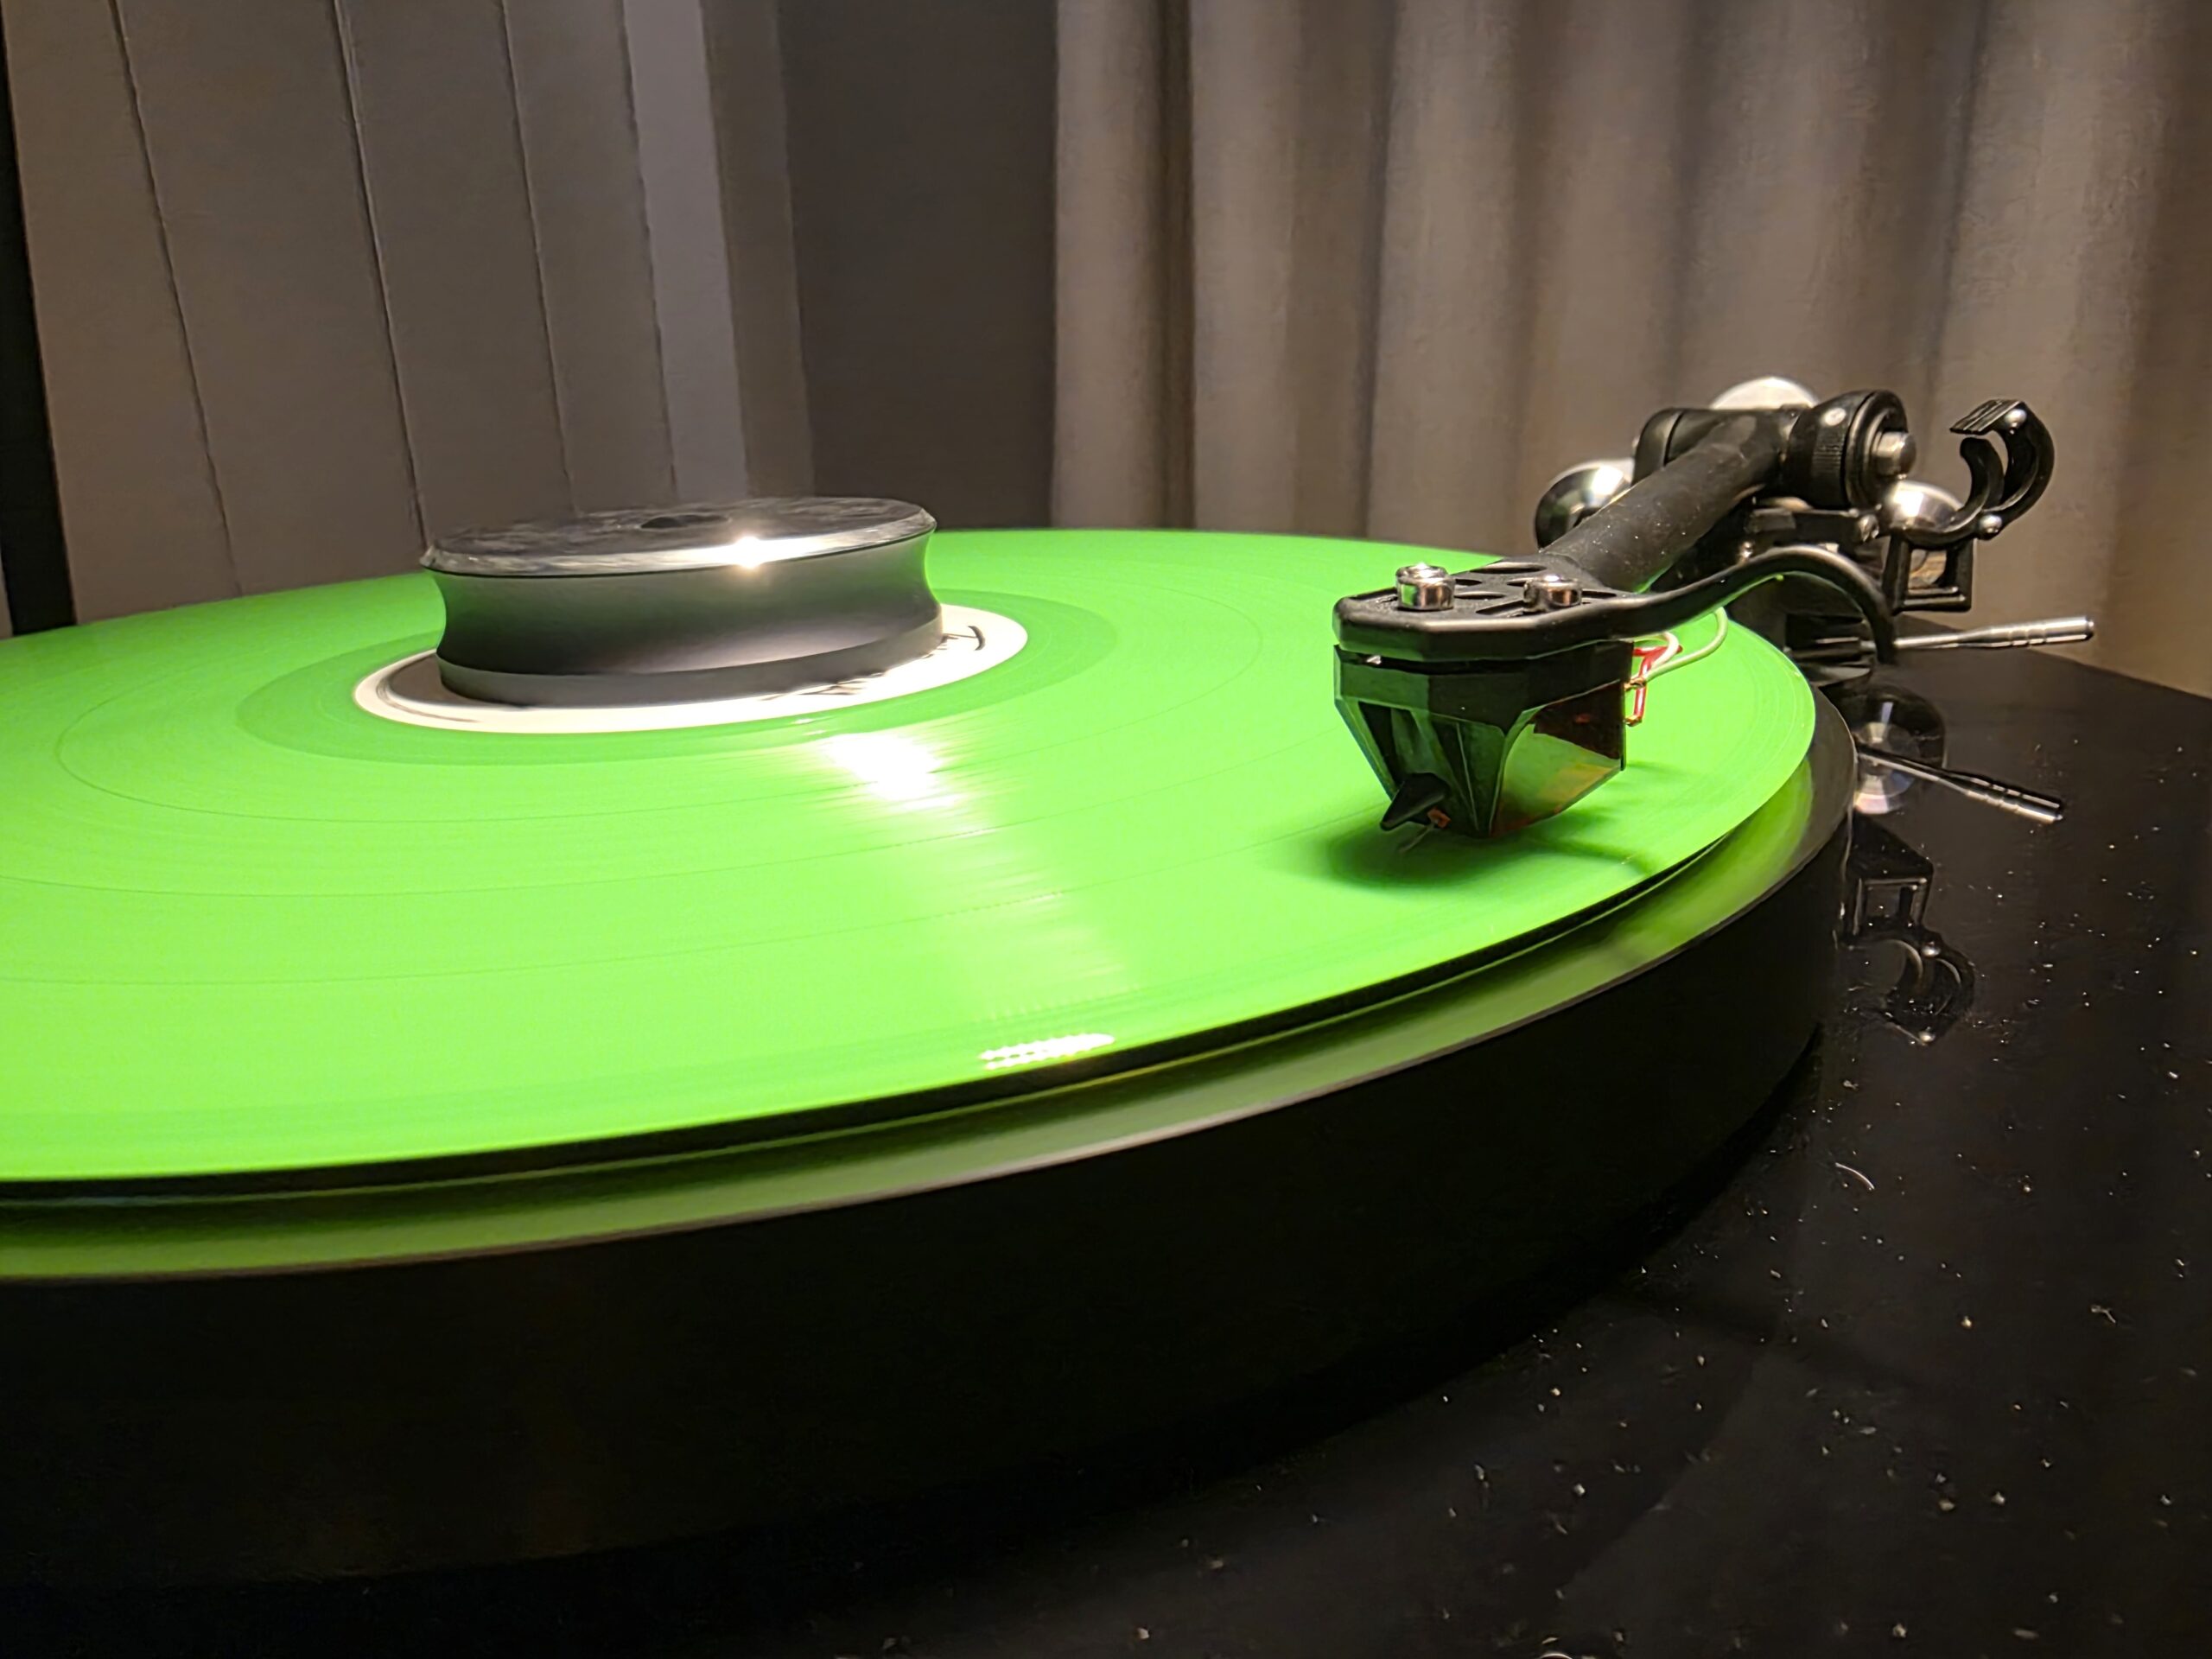
1 min 0 Audio/Video Electronics High-End Audio Music Records Rega Planar 3 August 25, 2025 I keep getting a hum from my Planar 3. Don’t understand why Rega doesn’t put… Read More
1 min 0 Audio/Video Electronics High-End Audio News Anybody know what’s going on here? August 18, 2025 Take a look at these EL-34’s from NessTone. I think they are OEM by Shuguang… Read More
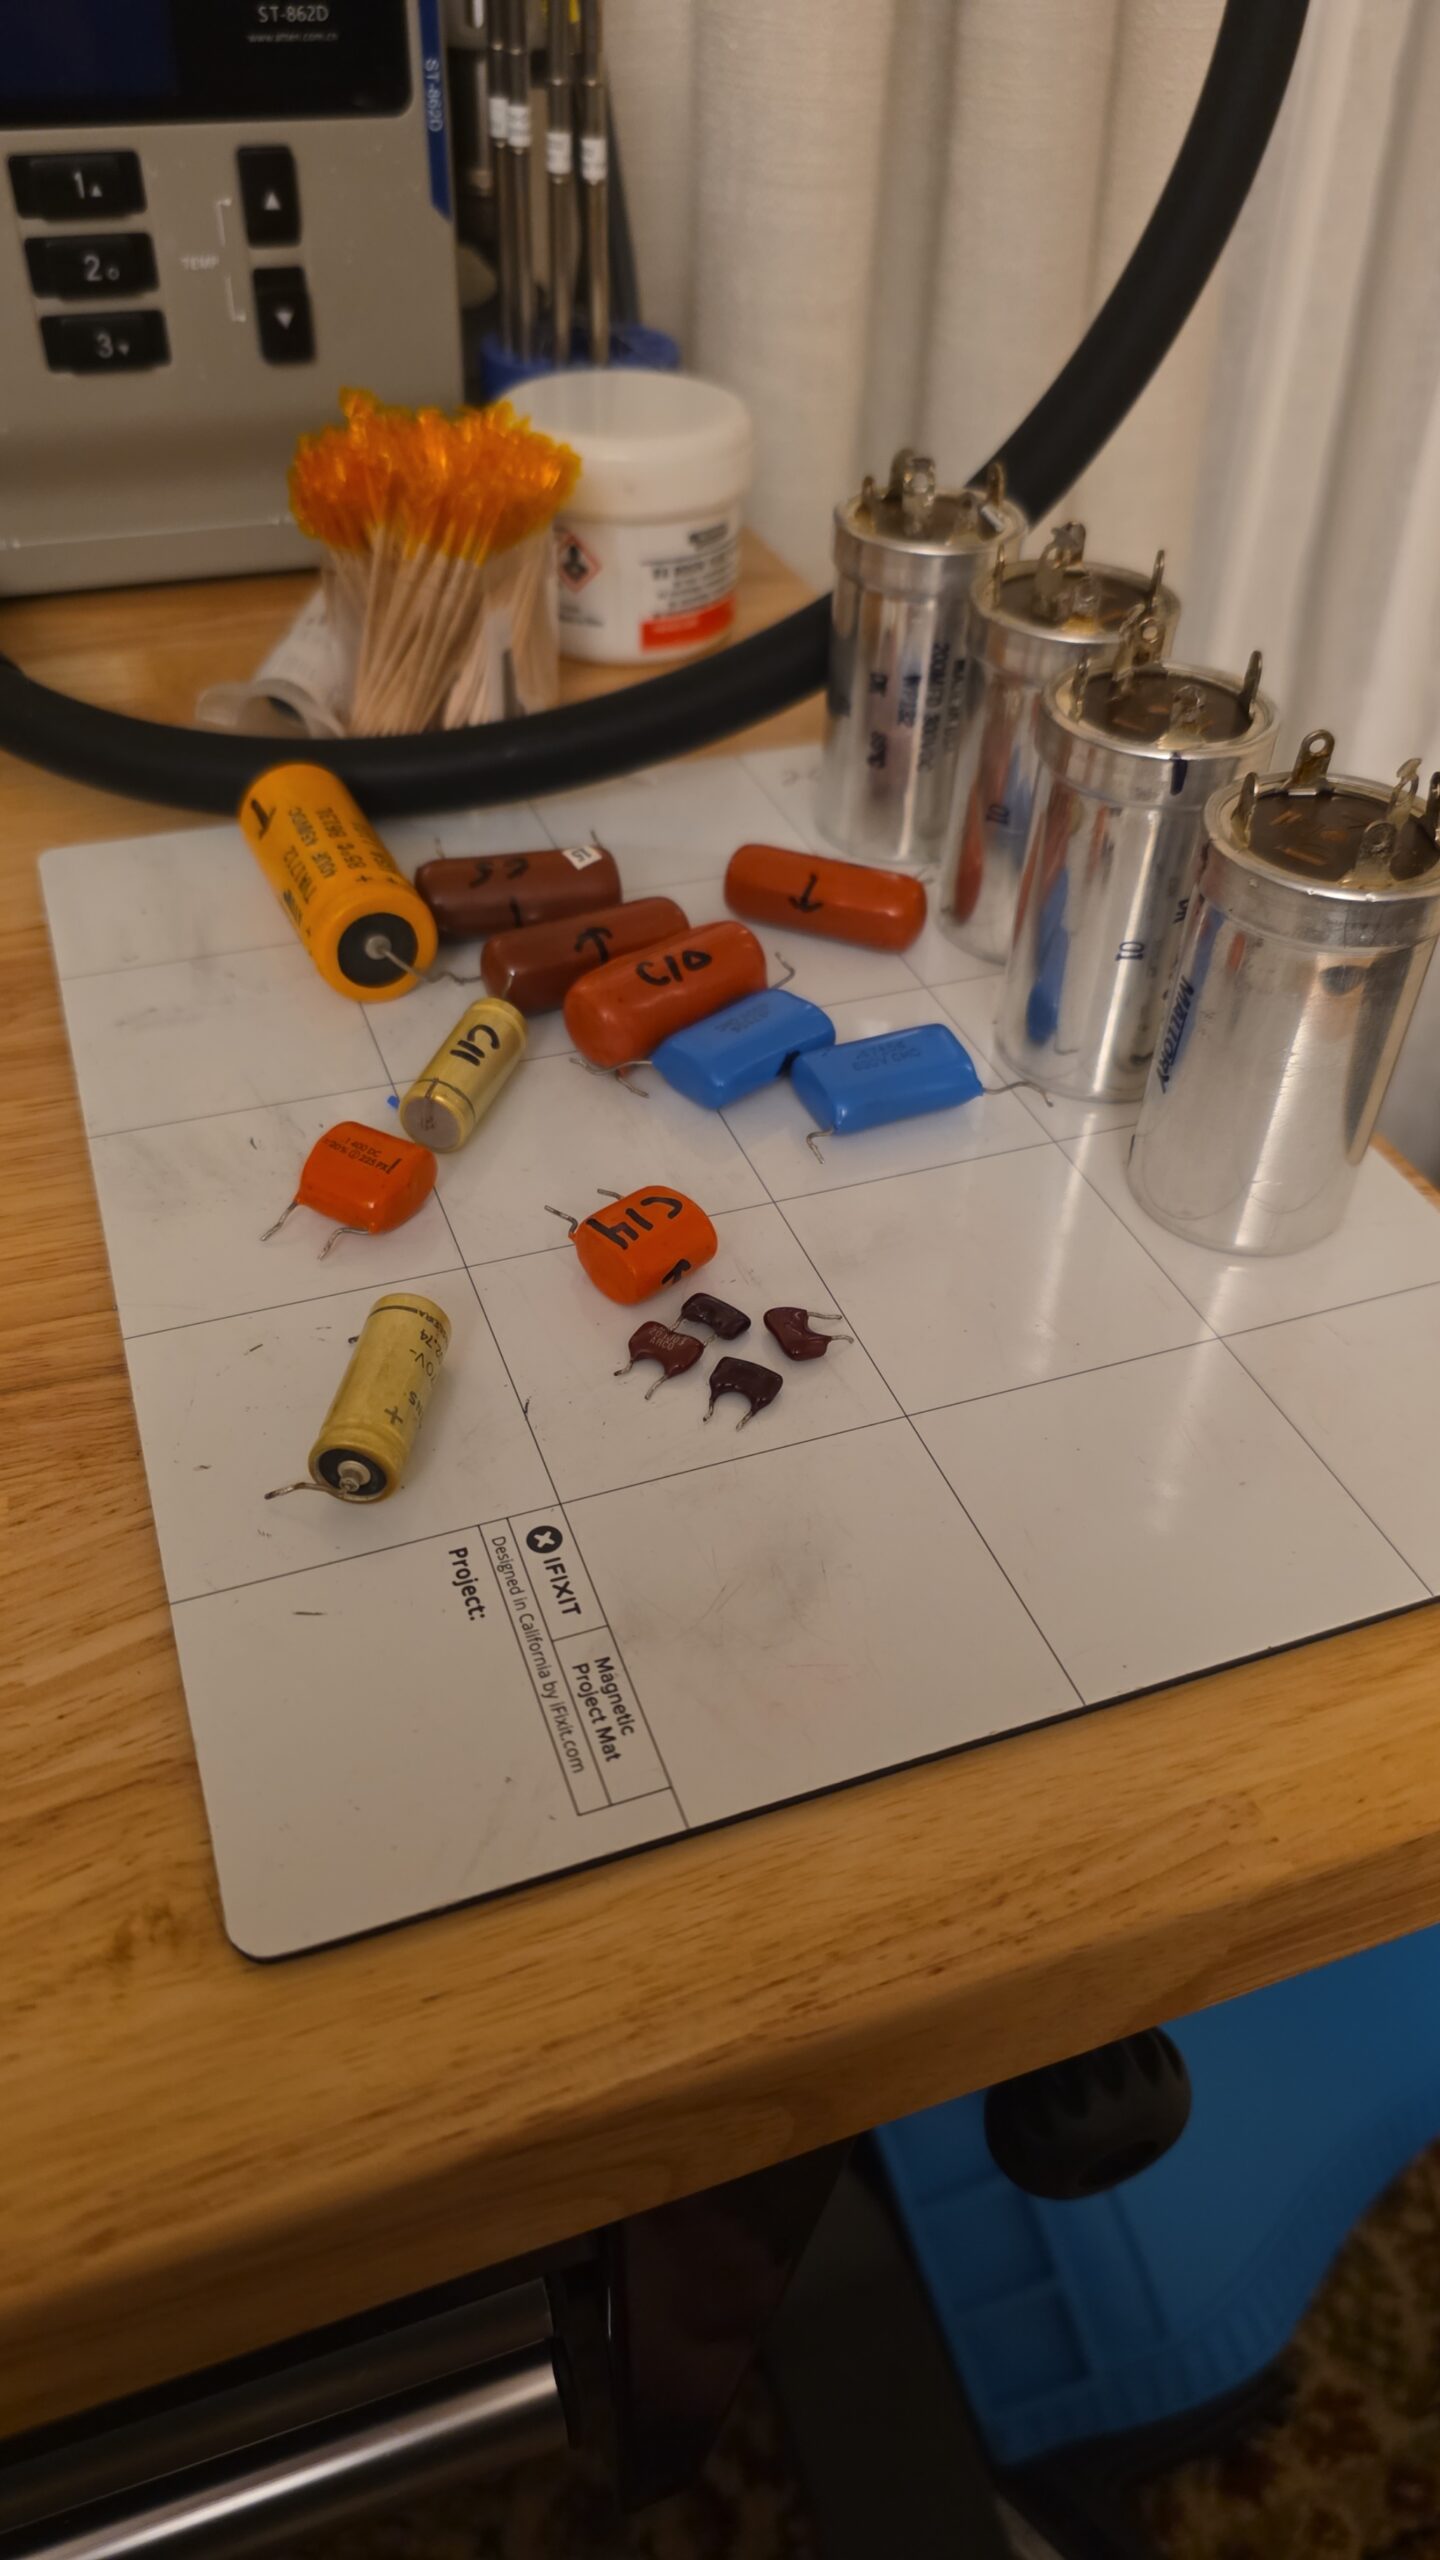
3 min 0 Audio/Video Electronics High-End Audio Working on my Audible Illusions amp August 17, 2025 Had to install a new AC in my moms room and then was planning to… Read More
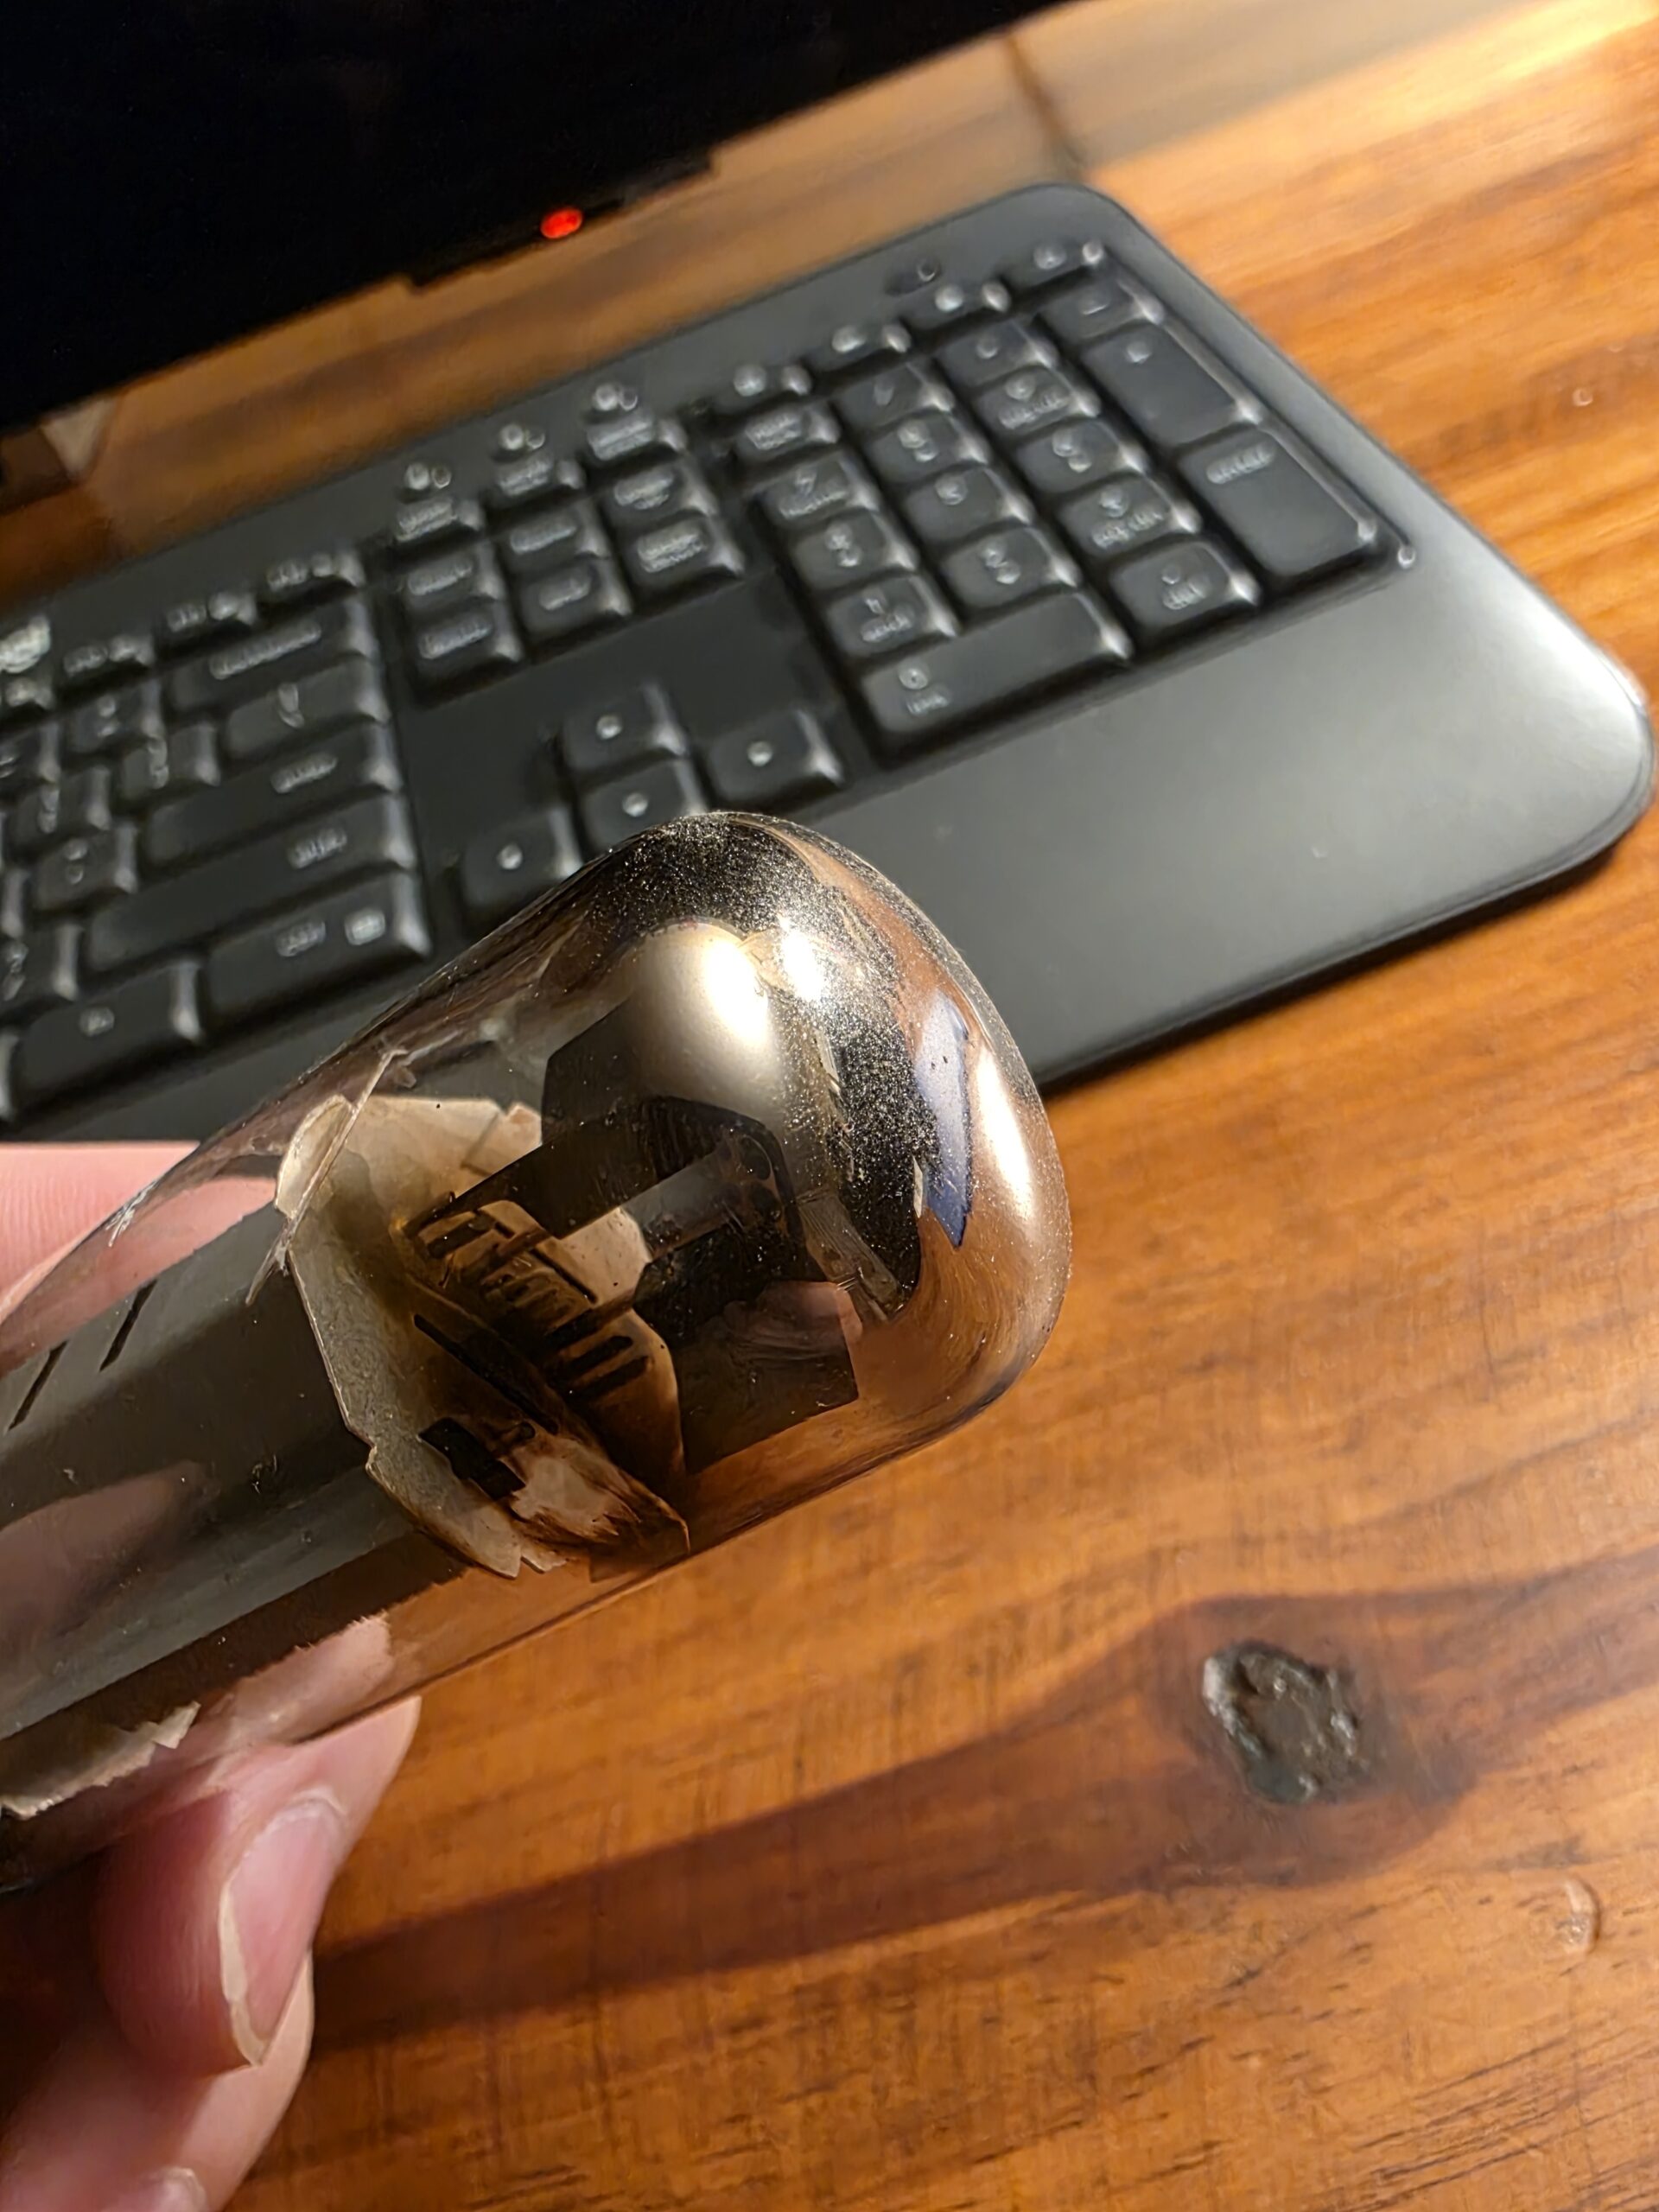
3 min 0 Audio/Video Electronics High-End Audio Tube amp fireworks! August 1, 2025 This happened a few weeks ago. I had just sat down to listen to my… Read More
2 min 0 Audio/Video Electronics High-End Audio Bucking Transformer July 22, 2025 I built a bucking transformer for use with older tube amplifiers. Did you know that… Read More
3 min 0 Audio/Video High-End Audio Music Record cleaning July 20, 2025 I have been trying to come up with the perfect process to clean records. I… Read More
2 min 0 Audio/Video Electronics High-End Audio Dynaco ST-70 project May 28, 2025 Just got a crusty old Dynaco ST-70 tube amp off e-bay to rebuild. It’s a… Read More