
1 min
0
Author: Christopher
bofh, sysop and all around nice guy.
1 min
0
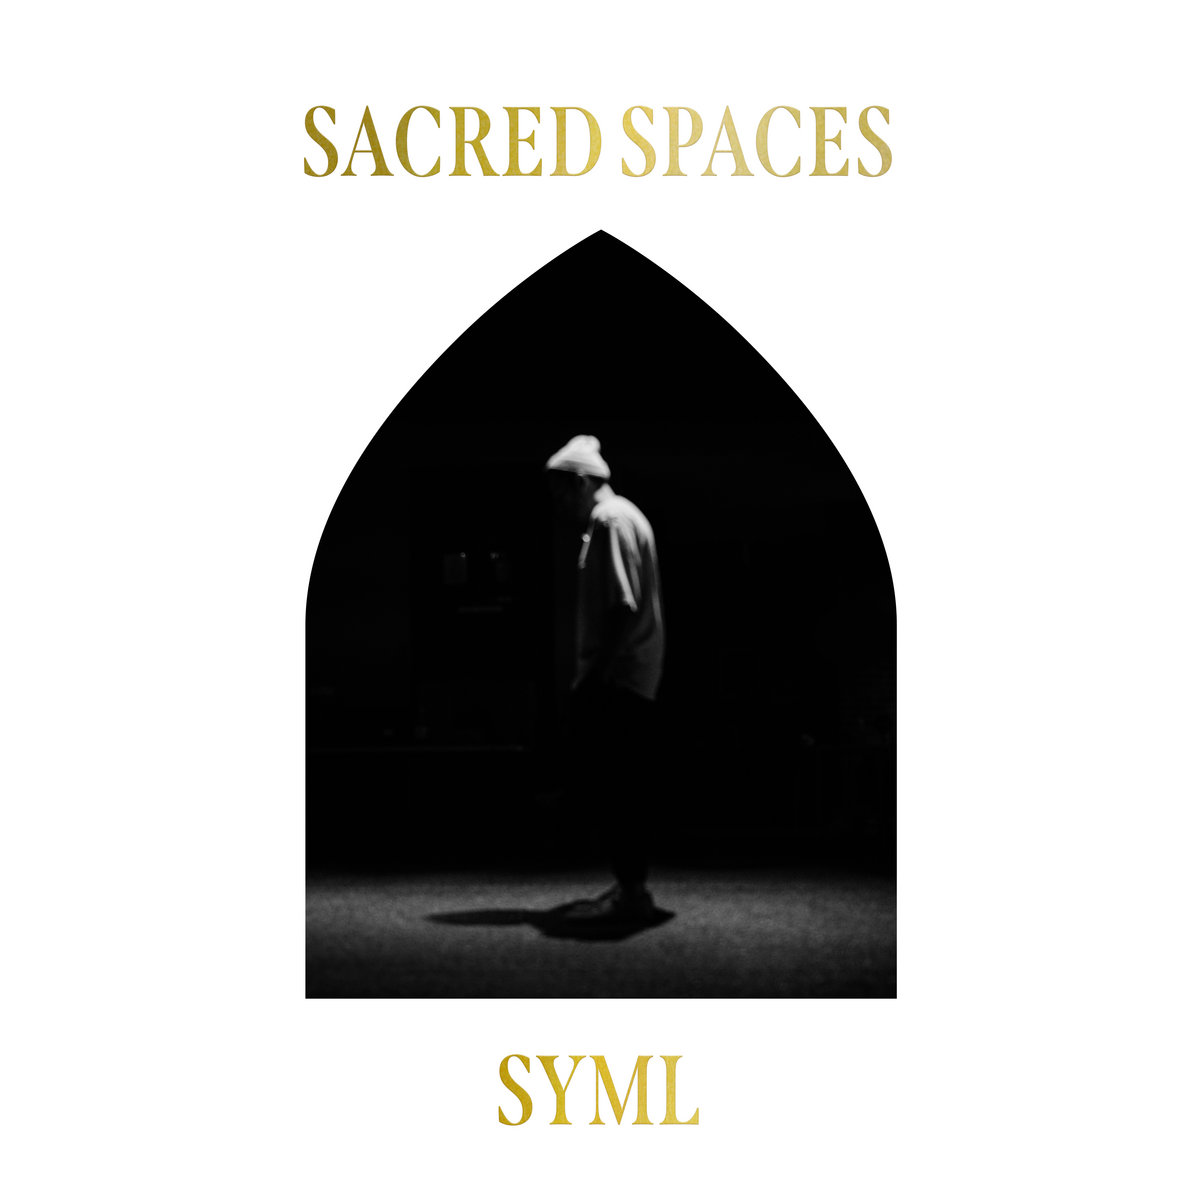
SYML – Sacred Spaces
SYML’s album Sacred Spaces is amazing. It’s 2 channel but from where I sit it’s…
Infinity RSM
Found a pair of Infinity RSM’s from 1978 on ebay. They were minty and fairly…

1 min
0
Want a different sound. Give Otyken a listen!
Just found the band Otyken. They are a Russian band that sings in indigenous Siberian.…
2 min
0
ZeroTier rocks!
I’m giddy at the moment. I decided to give ZeroTier a try tonight. In less…
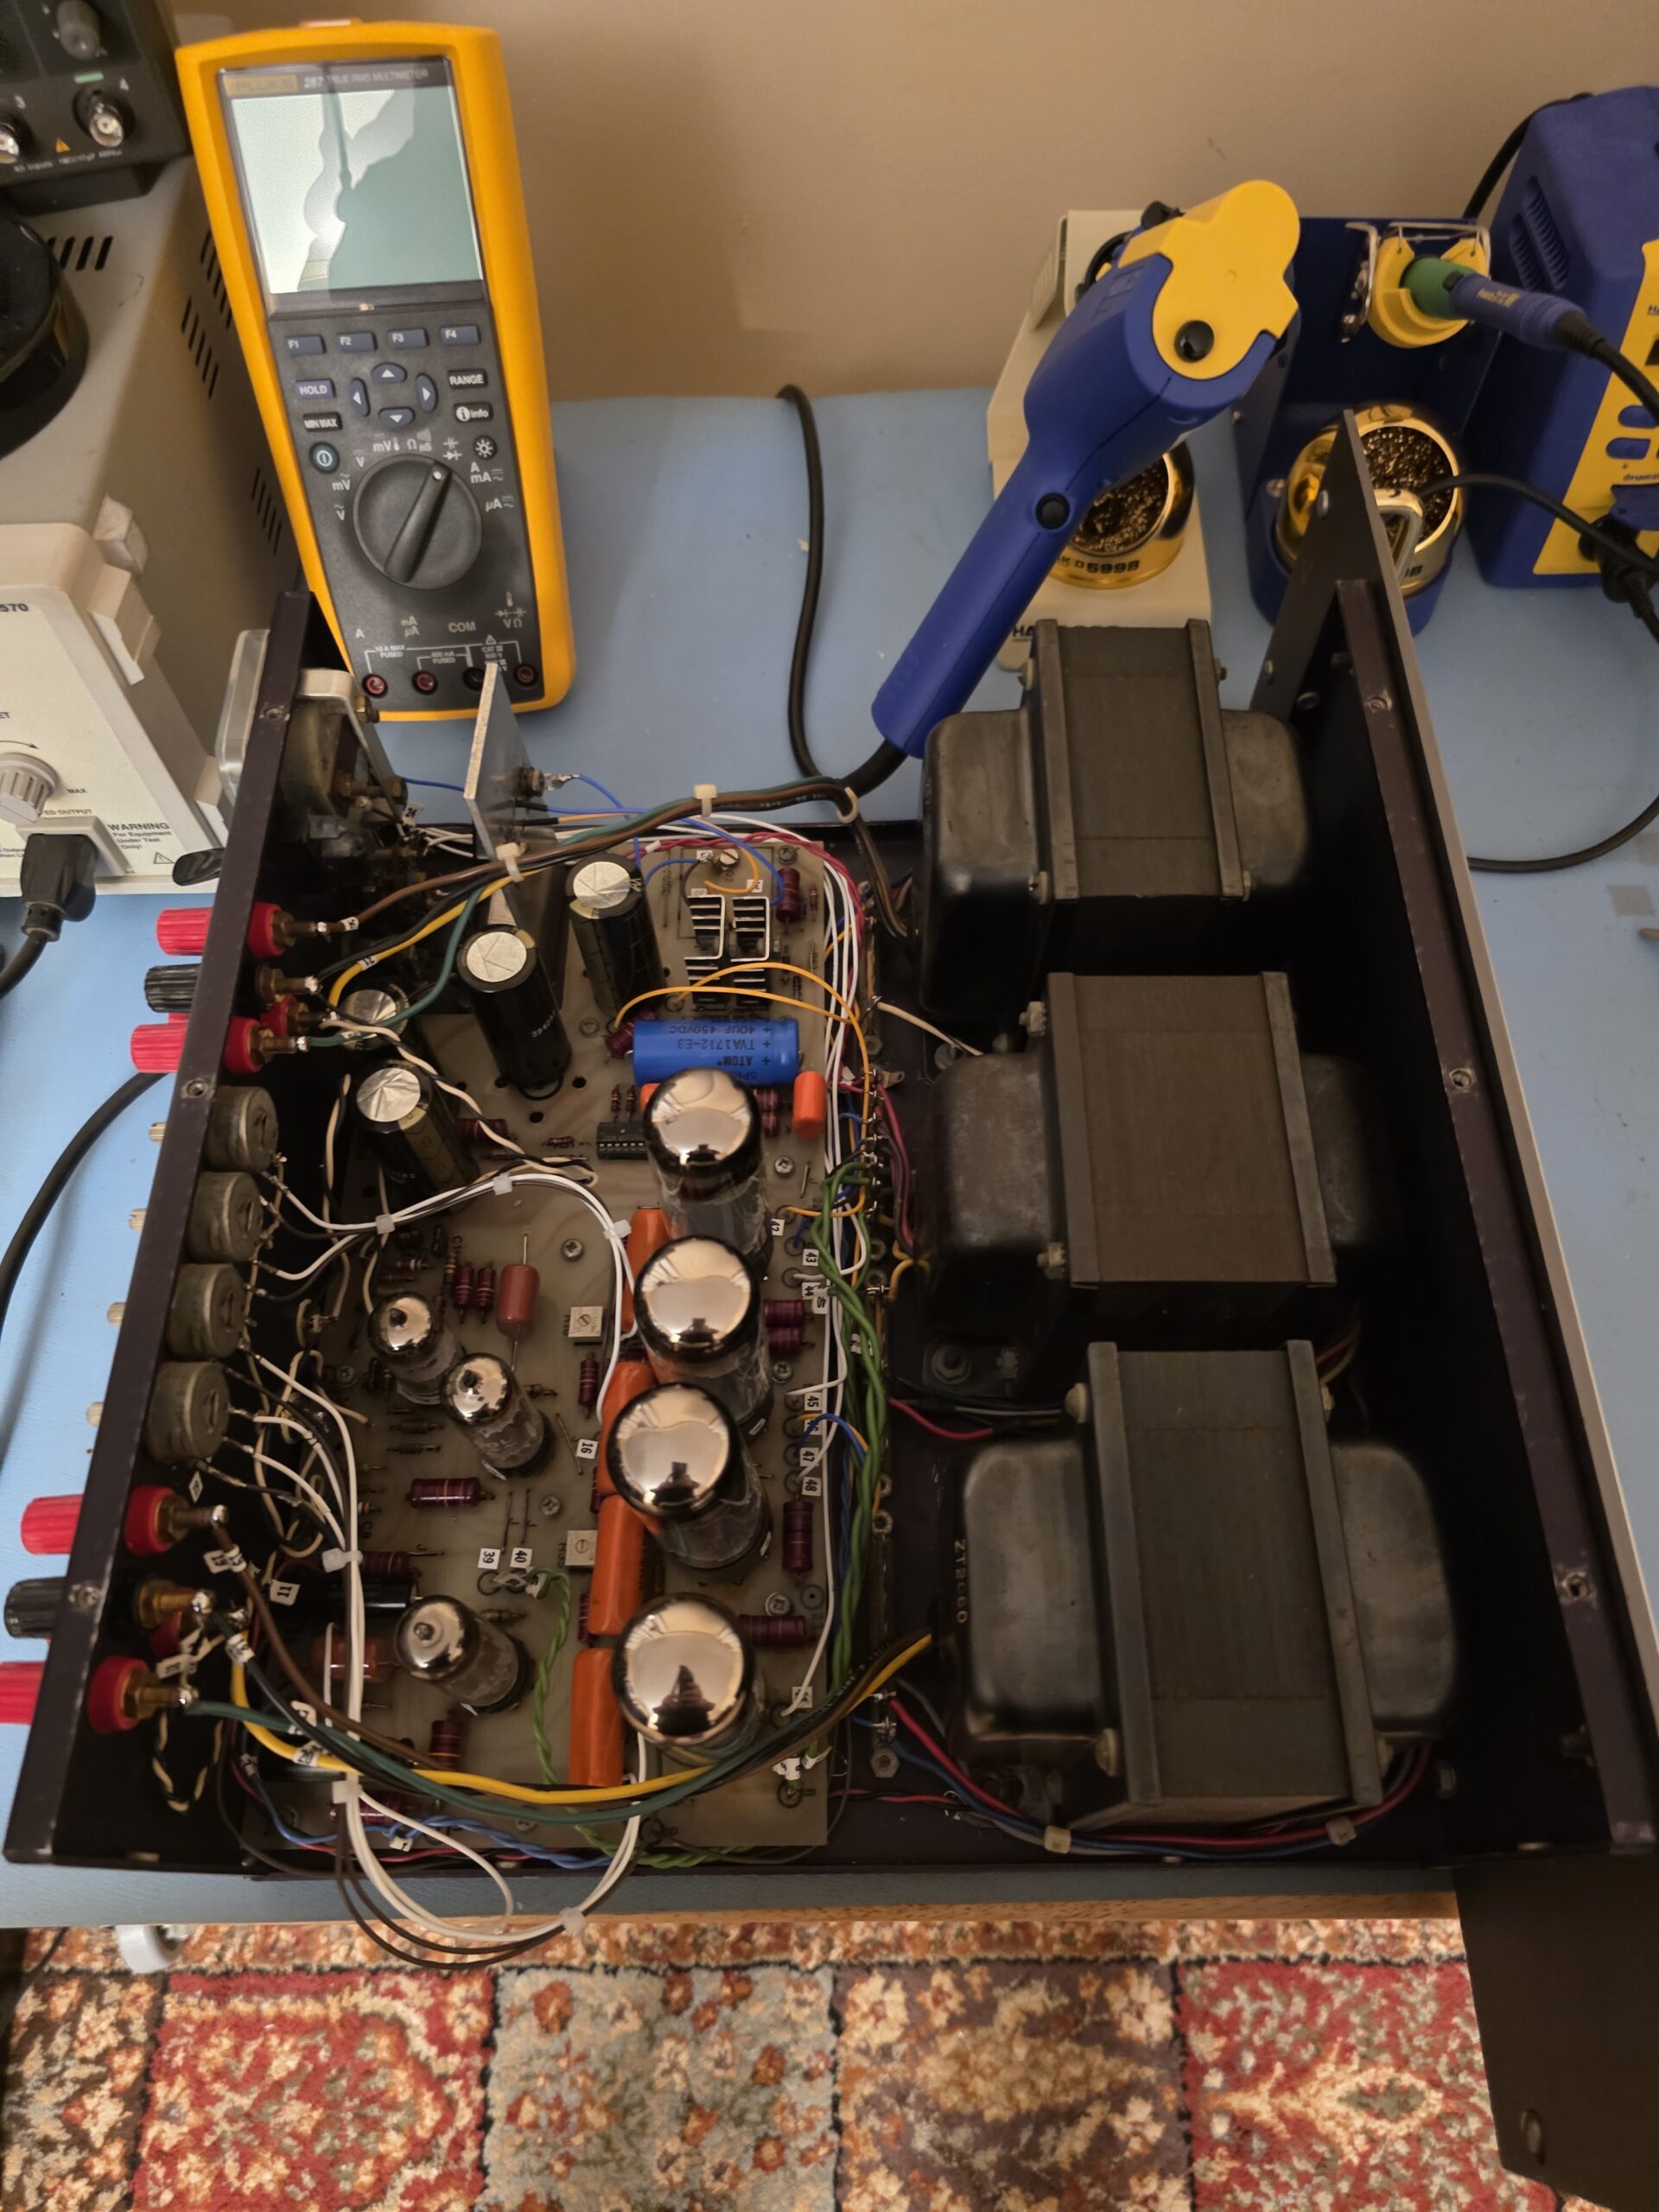
Audible Illusions Project Update
I was able to get my Audible Illusions amplifier project back together yesterday. It was…
1 min
0
Charlie Kirk
People who can’t defend views with facts and logic and resort to violence are despicable…
2 min
0
It’s that time of year again!
Fall is on the way and in no time it’s going to be Halloween! When…
1 min
0
Weekend at Johnson’s
Spent this Labor day weekend at Rich’s house. Was able to help him out with…
1 min
0
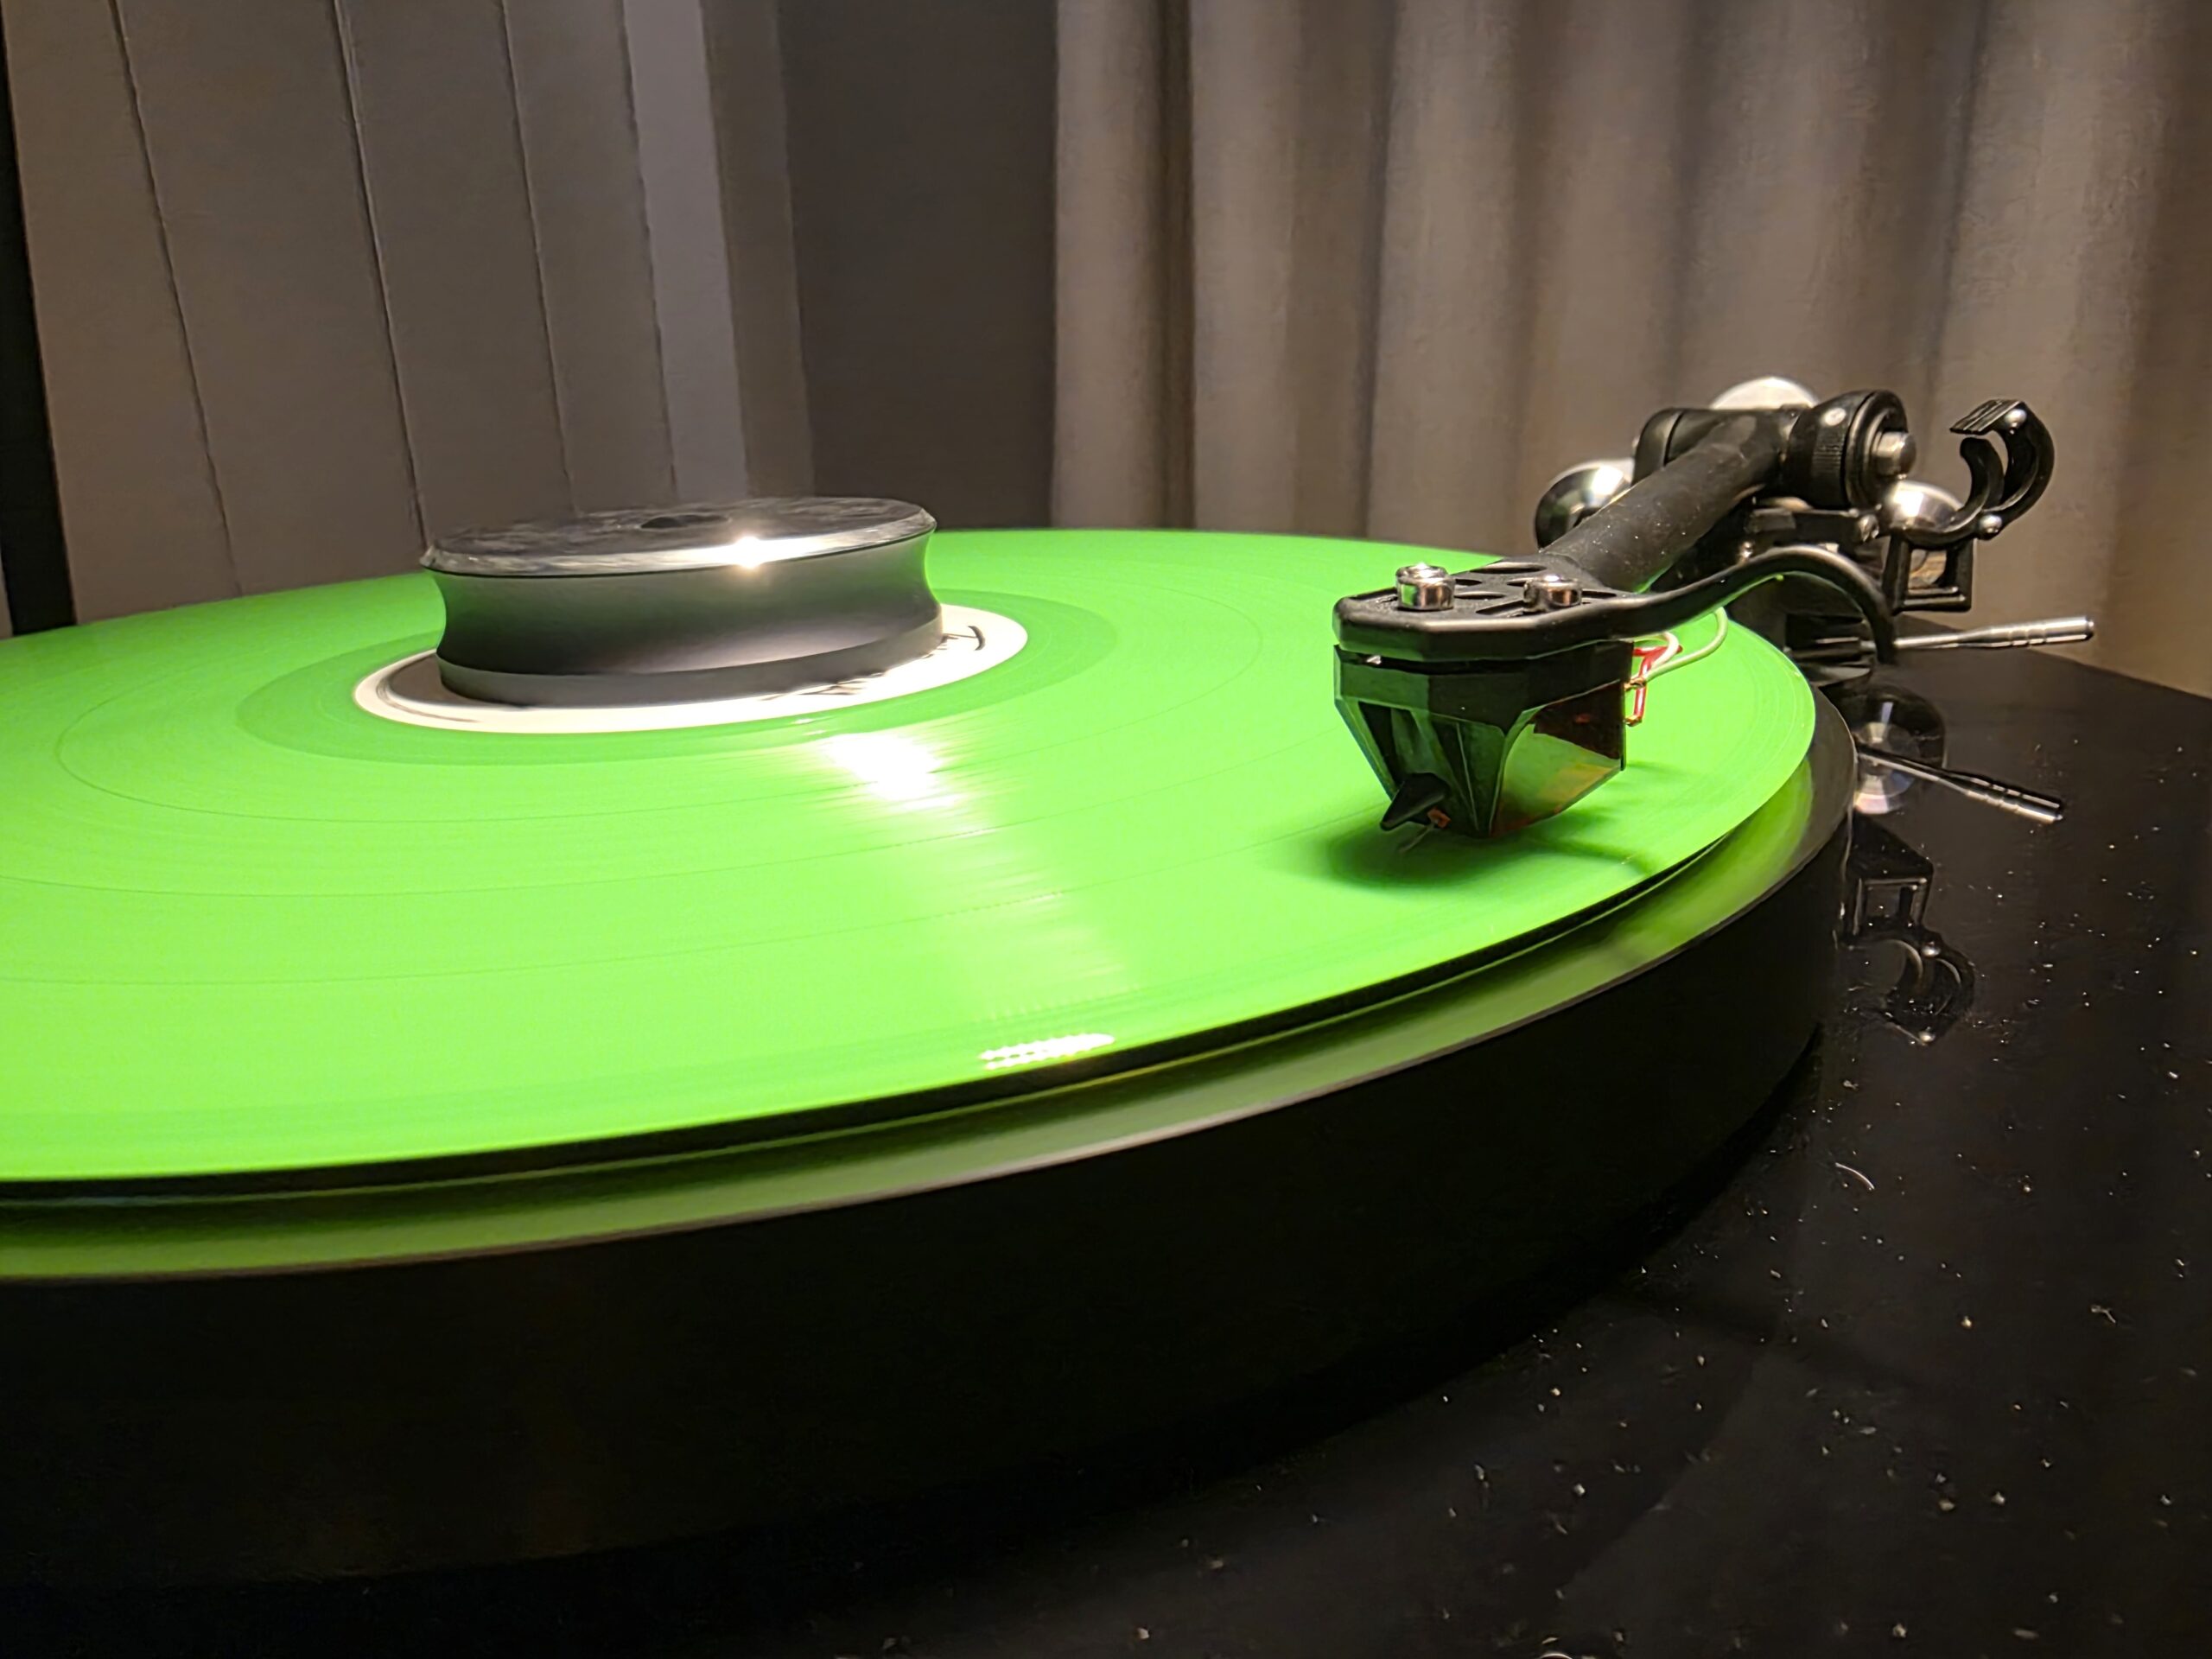
Rega Planar 3
I keep getting a hum from my Planar 3. Don’t understand why Rega doesn’t put…